
Streaming your IoT Data to DynamoDB
I am a Master Principal Cloud Architect for Oracle Cloud (OCI). I create content designed to help developers with Cloud-Based technologies. This includes AWS, OCI, and occasionally Azure. I'm not excluding GCP, I just haven't had any excuse to dive into GCP yet. As far as development is concerned, my area of focus is predominantly .NET, though these days, I do branch out occasionally into NodeJS and Python. I am available for in-person speaking events as well as virtual sessions. I can usually be found at Boston Code Camp. Opinions expressed on my blog are my own, and should not be considered to be the opinions of my employer.
Setting up your "Thing" in the AWS Console.
This post is the third in my series IoT for the .NET Developer. You can find the companion video for this blog post here: Sending IoT Data to AWS IoT Core using .NET - YouTube.
In the last post in this series, we connected the Raspberry Pi device to AWS's IoT Core service. IoT Core is a collection of functionality that represents the foundational elements of IoT connectivity. In this post, and video, we are taking the connectivity to the next level by formulating some data, and building enough of a back end to be able to store the IoT Data for later use.
The first thing you will need to do is grab a copy of the sample code from my GitHub repo and clone it on your RaspberryPI. All coding that is being done in this tutorial, is happening on the device. You can either code locally on the device, or use Visual Studio Code's remote editing feature that we got set up in the first video in the series.
BasementProgrammer/IoTSamples: Sample code for the IoT for the DotNet Developer series (github.com)
The code in the folder EP003 has all of the functionality required to have a .NET 7 client running on your device, and posting data to the service. If you are following along with the video, you can see the code changes necessary for you to get up and running.
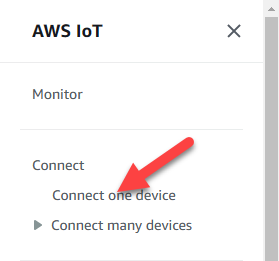
Once you have cloned the source code for the sample application, jump into the AWS Console and go to the IoT Core service. On the left-hand navigation select the option to Connect One Device.
On the prepare your device page, click Next.
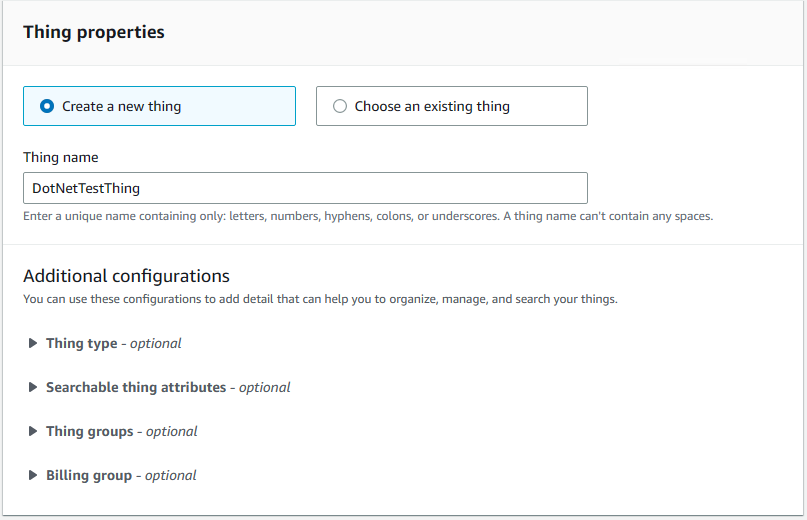
Give your thing a name, and then click Next:
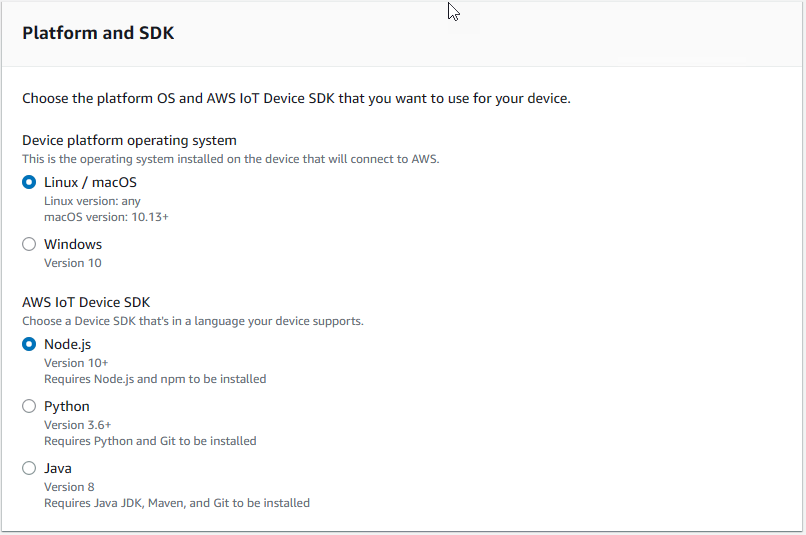
On the Platform and SDK page, leave the defaults of Linux/macOS and Node.js. Click Next. (You want to keep the default Linux and macOS, even if you are working on a Windows machine, as we are deploying the solution to the RaspberryPi which is running Linux.)
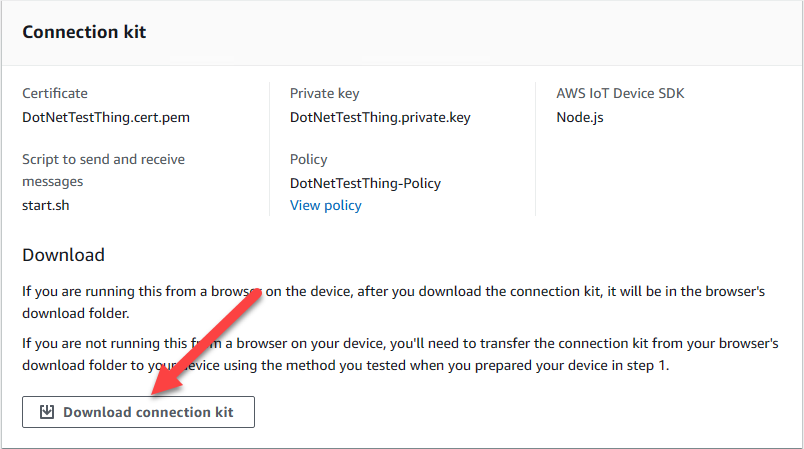
Click the option to download the connection kit, then click Next after the connection kit downloads.
On the Run Connection Kit page, ignore the instructions and click Continue. On the next page click the View Thing button to view the Thing that you have created.
Updating the configuration to support .NET
The "Connect one device" option will set up most of the plumbing necessary for you to establish connectivity, assuming you are using one of the default programming languages of Python, Node.js, or Java. In order to support .NET we want to make a couple of small changes to the default configuration.
Go to the location where you downloaded your connection kit. You will find a ZIP file called connect_device_package.zip. Open this zip file and extract the contained files. You will find that the package contains 5 files. There is a Shell Script that you could use to run the Node.js client, a copy of the IoT Device Policy, a public key, a private key, and a device certificate.
Open the Policy file in Notepad. The policy will normally look like this:
{
  "Version": "2012-10-17",
  "Statement": [
    {
      "Effect": "Allow",
      "Action": [
        "iot:Publish",
        "iot:Receive"
      ],
      "Resource": [
        "arn:aws:iot:us-east-2:205489442345:topic/sdk/test/java",
        "arn:aws:iot:us-east-2:205489442345:topic/sdk/test/python",
        "arn:aws:iot:us-east-2:205489442345:topic/sdk/test/js"
      ]
    },
    {
      "Effect": "Allow",
      "Action": [
        "iot:Subscribe"
      ],
      "Resource": [
        "arn:aws:iot:us-east-2:205489442345:topicfilter/sdk/test/java",
        "arn:aws:iot:us-east-2:205489442345:topicfilter/sdk/test/python",
        "arn:aws:iot:us-east-2:205489442345:topicfilter/sdk/test/js"
      ]
    },
    {
      "Effect": "Allow",
      "Action": [
        "iot:Connect"
      ],
      "Resource": [
        "arn:aws:iot:us-east-2:205489442345:client/sdk-java",
        "arn:aws:iot:us-east-2:205489442345:client/basicPubSub",
        "arn:aws:iot:us-east-2:205489442345:client/sdk-nodejs-*"
      ]
    }
  ]
}
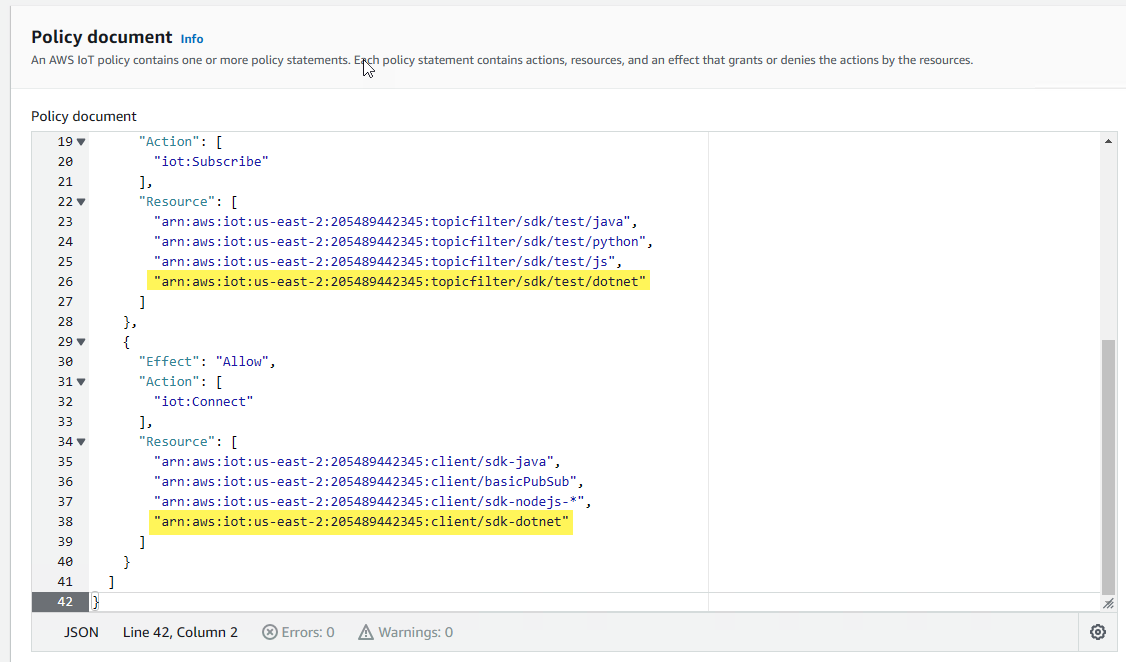
Update the policy to look like the following:
{
  "Version": "2012-10-17",
  "Statement": [
    {
      "Effect": "Allow",
      "Action": [
        "iot:Publish",
        "iot:Receive"
      ],
      "Resource": [
        "arn:aws:iot:us-east-2:205489442345:topic/sdk/test/java",
        "arn:aws:iot:us-east-2:205489442345:topic/sdk/test/python",
        "arn:aws:iot:us-east-2:205489442345:topic/sdk/test/js",
        "arn:aws:iot:us-east-2:205489442345:topic/sdk/test/dotnet"
      ]
    },
    {
      "Effect": "Allow",
      "Action": [
        "iot:Subscribe"
      ],
      "Resource": [
        "arn:aws:iot:us-east-2:205489442345:topicfilter/sdk/test/java",
        "arn:aws:iot:us-east-2:205489442345:topicfilter/sdk/test/python",
        "arn:aws:iot:us-east-2:205489442345:topicfilter/sdk/test/js",
        "arn:aws:iot:us-east-2:205489442345:topicfilter/sdk/test/dotnet"
      ]
    },
    {
      "Effect": "Allow",
      "Action": [
        "iot:Connect"
      ],
      "Resource": [
        "arn:aws:iot:us-east-2:205489442345:client/sdk-java",
        "arn:aws:iot:us-east-2:205489442345:client/basicPubSub",
        "arn:aws:iot:us-east-2:205489442345:client/sdk-nodejs-*",
        "arn:aws:iot:us-east-2:205489442345:client/sdk-dotnet"
      ]
    }
  ]
}
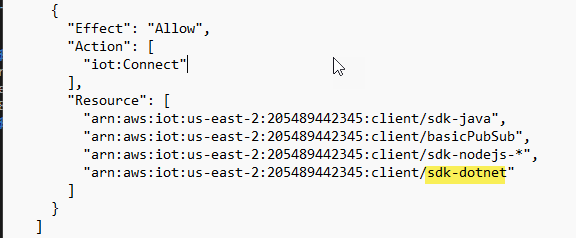
Note: for each of the sections, we have added a .NET option. The first two sections define the topics that the connected device can send, receive and subscribe to. The final section defines what the device is allowed to connect as. Think of this like the device's identification, or name.
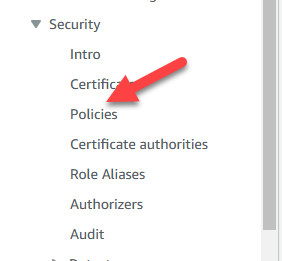
in the AWS Console, on the left-hand navigation for the IoT Core service, open the Security section, and click Policies.
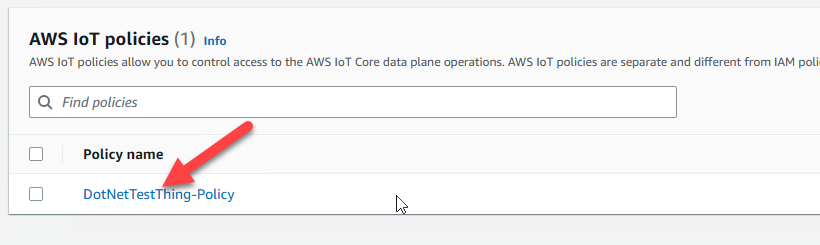
Click on the Policy with the same name you gave your device.
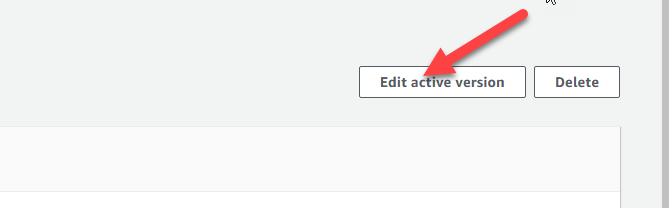
Click Edit Active Version
Click the JSON button to be able to directly edit the JSON for the policy document. In the editor, replace the entire document with the copy that was edited in the previous example.
After editing the policy, click the option to Set the edited version as the active version, and then click Save as new version.

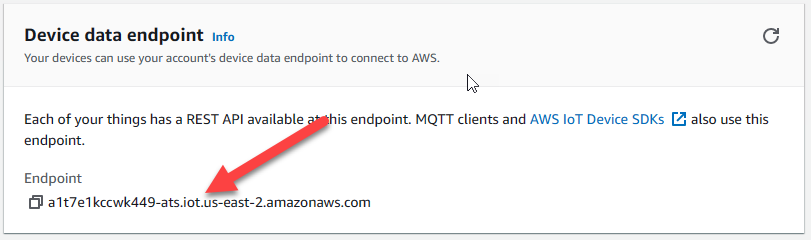
Finally, we need to obtain your accounts' IoT Endpoint. You can obtain this by clicking Settings in the left-hand navigation menu.

Copy the Device Data Endpoint value from the console, and save that for later:
Update the Project
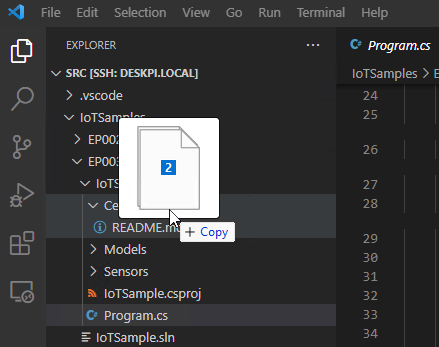
Jump back into Visual Studio Code, connected to your RaspberryPi. Browse into the EP003 folder. You need to copy the device certificate and private key from the folder you downloaded to the Certificates folder in the project. You can do this via Drag and drop onto Visual Studio Code.
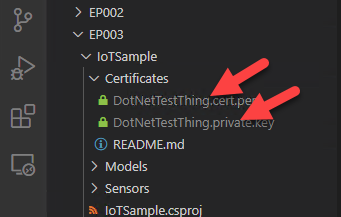
Once copied to the device, the file view will update to reflect the files are now available.
At the Terminal, navigate to the Certificates folder, and type the following command:
curl https://www.amazontrust.com/repository/AmazonRootCA1.pem > root-CA.crt
This command will download the Amazon Root Certificate into the Certificates folder.

Finally, open the IoTSample.csproj file.
There is some sample code in the project file:
<!--
      Add the following ItemGroup, and include an entry for each file in the certificate directory.
      If you are using an IDE, configure each file to Always be compied to the destination.
  <ItemGroup>
    <None Update="Certificates\FINE_NAME">
      <CopyToOutputDirectory>Always</CopyToOutputDirectory>
    </None>
  </ItemGroup>
-->
Use this as a guide to update the project file with entries to force the build process to copy all of your certificate files to the output folder. If your thing name is "DotNetTestThing" then the required entries will look like this:
  <ItemGroup>
    <None Update="Certificates\DotNetTestThing.cert.pem">
      <CopyToOutputDirectory>Always</CopyToOutputDirectory>
    </None>
        <None Update="Certificates\DotNetTestThing.private.key">
      <CopyToOutputDirectory>Always</CopyToOutputDirectory>
    </None>
        <None Update="Certificates\root-CA.crt">
      <CopyToOutputDirectory>Always</CopyToOutputDirectory>
    </None>
  </ItemGroup>
Update your device code
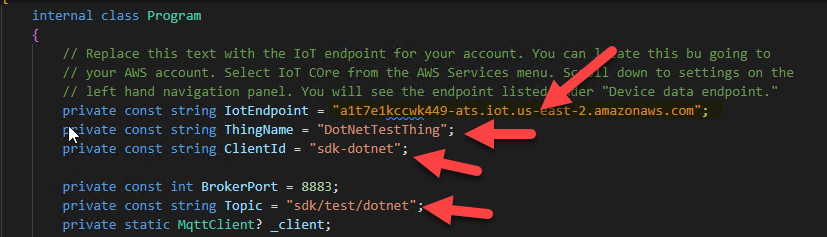
There are a few points that need to be updated in your device code:
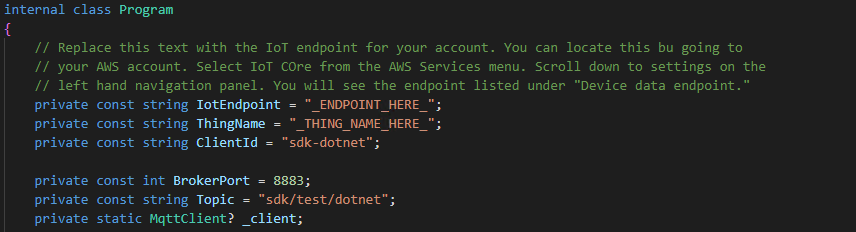
For IoTEndpoint replace the placeholder with the IoT Data Endpoint you copied from the AWS Console earlier.
For ThingName use the name that you entered into the console. This forms part of the file name that is in your certificate files.
ClientID is used as the identifier for the device. This is part of the policy that was created earlier:
The rest of the code can be left without any modifications.
If you jump back to the terminal and return to the project root folder, you can now run the command:
dotnet run
Once the code builds and starts executing, you will notice that the data being transmitted is JSON formatted and looks like this:
{
    "sensorId":"DotNetTestThing",
    "messageId":4,
    "readingDate":"2023-02-12T11:10:45.7154217-05:00",
    "gpsLocation":"-22.54521,128.500041",
    "waterLevel":106.5539800726086
}
The water level will vary with each reading.
Creating the Back End service
At this point, we have IoT data streaming to the AWS IoT Core service. However, that data is just disappearing. We need to be able to capture this data stream and store if for later if it is to be of any use. In this part of the tutorial, we are going to set up a DynamoDB table to capture the IoT data as it arrives.
Create a DynamoDB table
In the AWS Console, go to the DynamoDB service. In the left-hand navigation panel, select Tables.

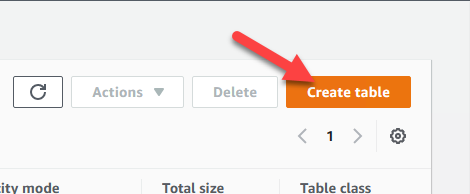
Click on Create Table.
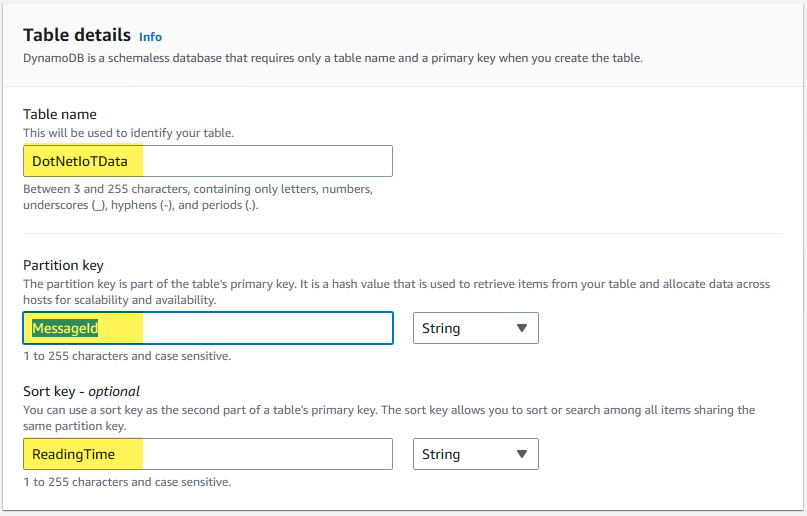
For your table settings use "DotNetIoTData" as the table name, use "MessageId" as your Partition key with a type of String, and use ReadingTime as your sort key, again with a type of String.
For table settings, keep the default settings.
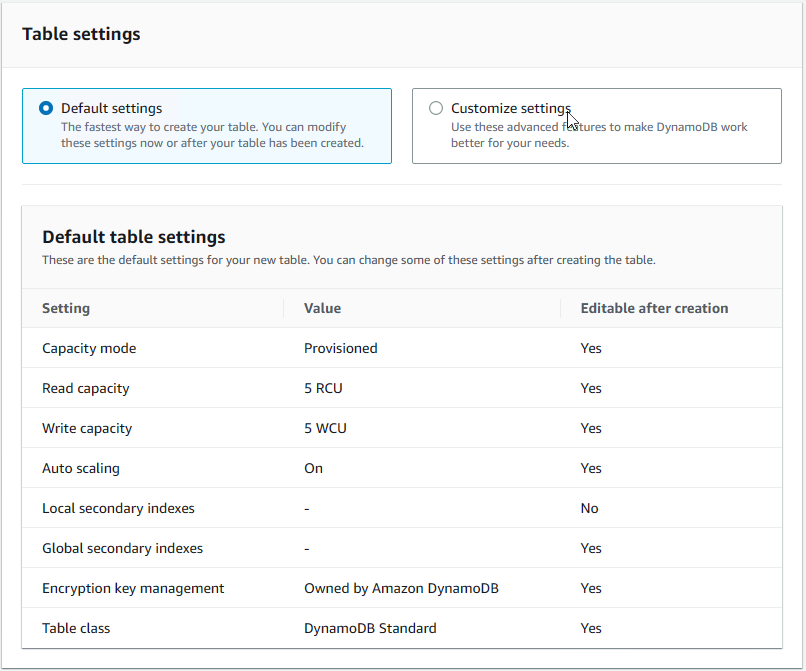
Then click "Create Table."

Once your table has been created, return to the IoT Core service.
Streaming IoT data to your table
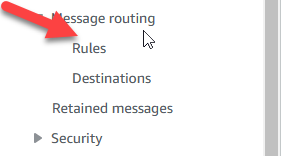
Back in the IoT core service, open Message routing in the left-hand navigation panel, and select Rules.
IoT rules allow us to automatically process data as it arrives on a topic and then take actions based on the data, and the rules that are established. In practice what it means is that we can create integrations with other AWS services, without having to write code. In our case, we are going to create a rule that allows us to stream the data as it arrives, into a DynamoDB table.
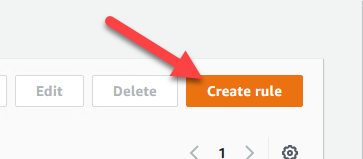
Click Create rule.
For the Rule name enter "Stream_Data_To_DynamoDB." For description, enter "Stream all IoT messages directly to DynamoDB."

Click Next
You are then presented with a SQL statement editor that will allow you to configure how your rule will retrieve data from each message that gets published.
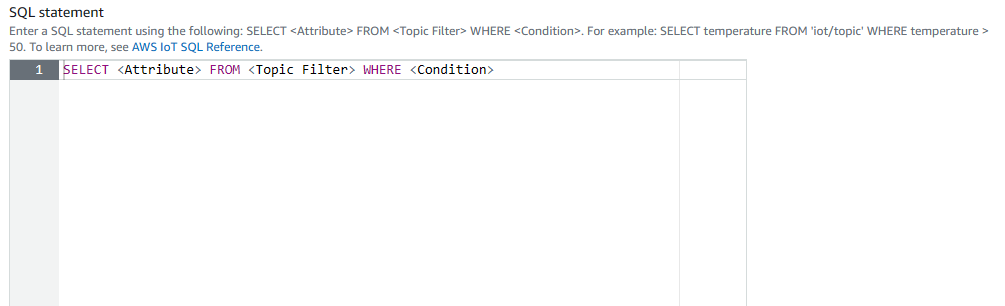
You will want to modify this statement to take into account what you are trying to do. In this case, we want to push all records exactly as they are, into the DynamoDB table. Replace the text for the SQL statement with the following:
SELECT
    sensorId,
    messageId,
    readingDate,
    gpsLocation,
    waterLevel
FROM 'sdk/test/dotnet'
We are not providing a where clause in this statement, because we want this rule to execute for every message as it arrives. If we wanted to have a rule that was for specific situations, we could add a filter to the expression such as "WHERE waterLevel < 10." The FROM part of the SQL Statement indicates the topic that the messages are being transmitted on.
The result of this statement is that the rule will fire on every message sent on the sdk/test/dotnet topic.
Click Next.
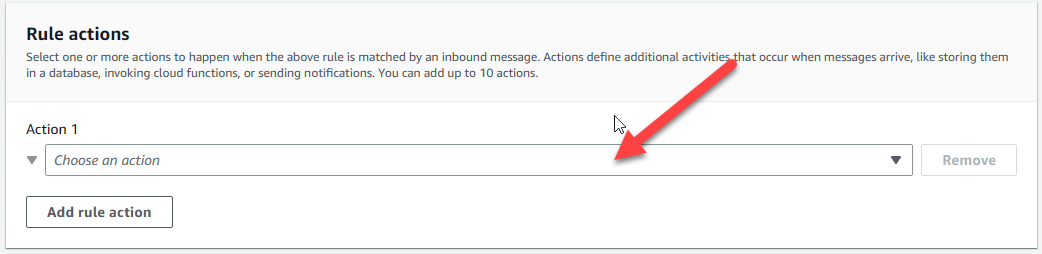
You now have an opportunity to define Rule actions. Rule actions are things that occur when your rule is triggered, and allow you to build integrations with other AWS services. There is a wide range of integrations available, and if you don't have an action that matches what you are trying to do, you always have the Lambda action that allows you to do pretty much anything you need.
For Action1, click in the drop-down box to get a list of available actions.
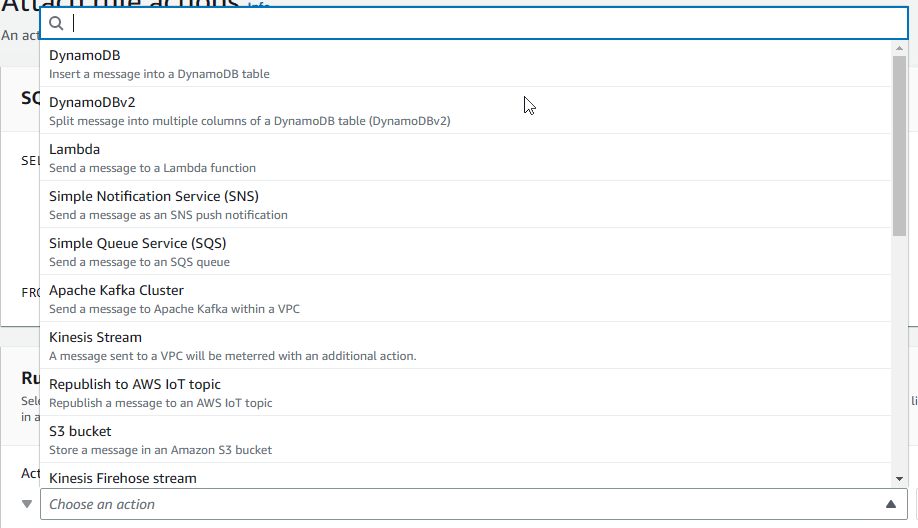
Select the first DynamoDB option.

For the Table name, select the table that we created in the previous section. "DotNetIoTData"
For the Partition key enter "MessageId" leaving the type as STRING.
For the Sort Key, enter "ReadingTime" leaving the type as STRING.
These values match what was entered when the DynamoDB table was created. If you used different values, then you should update your code as appropriate.

The next step is to define how the values for these two keys are going to be filled in. The IoT rules engine allows us to define substitutions that will be filled in with data from the message.
For Partition Key Vlue enter the following:
${sensorId}-${messageId}
This will create a composite key that includes the sensor name as well as the message number. As a result, every message will be considered unique, and our DynamoDB table will collect every message that comes from the device.
Sometimes you might find it useful to just keep the most recent message that arrived from the device. In this case, you might want your partition key to just be "${sensorId}" for example. If this is the case, then every time a message arrives for a matching sensor, the data in the would be overwritten with the latest values. This would be useful to create a dashboard for example.
For the sort key enter the following:
${readingDate}
This will use the timestamp in the message as the sort key for the table.
Leave the "Write message data to this column", and "Operation" fields blank.
For IAM role, click the button to create a new role, and then provide a new role name. "Stream_IoT_Date_To_DynamoDB_Role" and then click Create.
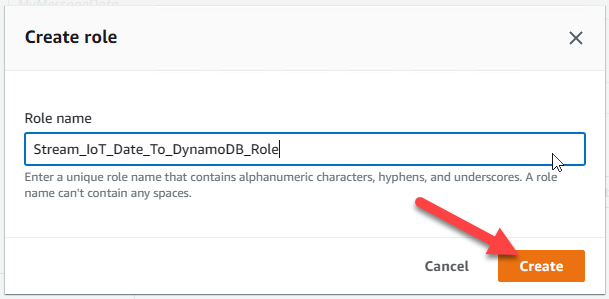
The rules engine will automatically create a new IAM role with the necessary permissions to interact with DynamoDM for you.

Click Next.
At the review screen, click the option to Create the rule.
Once the rule is created, it's automatically active and ready to go. There is nothing more for you to do.
Testing your streaming data
Go back to Visual Studio Code, and from the terminal execute the command "dotnet run". Once again the application will start pushing data through to the IoT Core service.
dotnet run

Leave this command running and head back to the AWS Console.
Once in the console, go back to the DynamoDB service, and click on the table you created earlier.
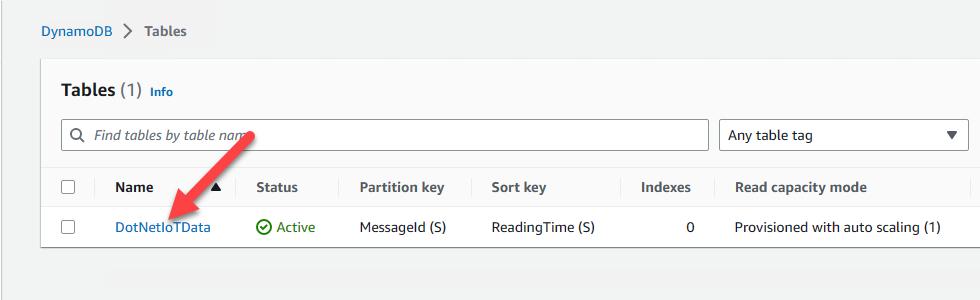
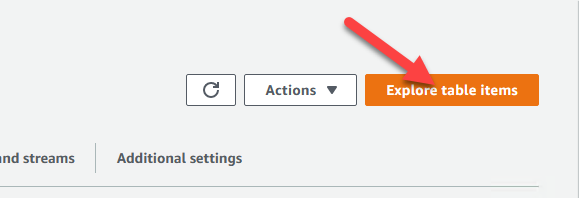
Click the option to Explore table items.
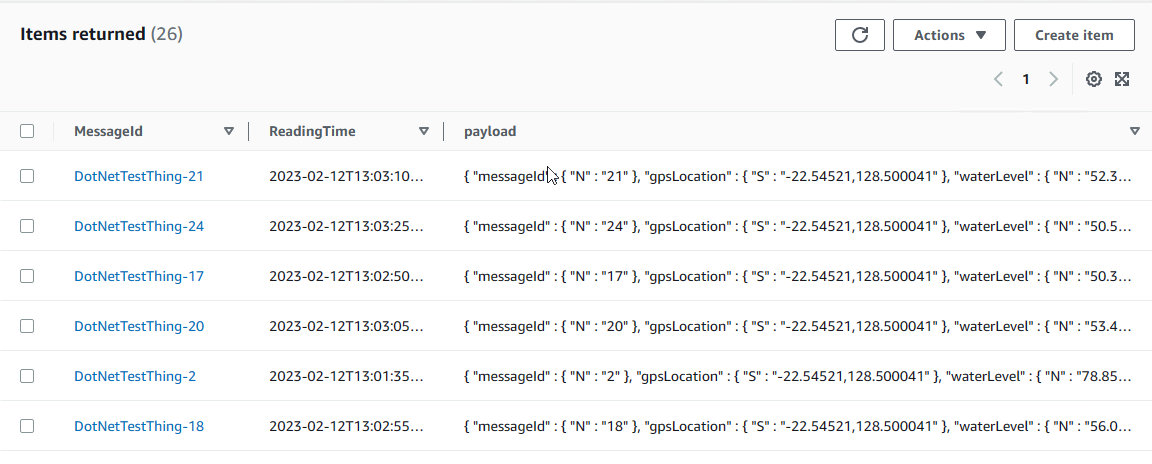
You can now see all of your IoT messages getting streamed into your table.
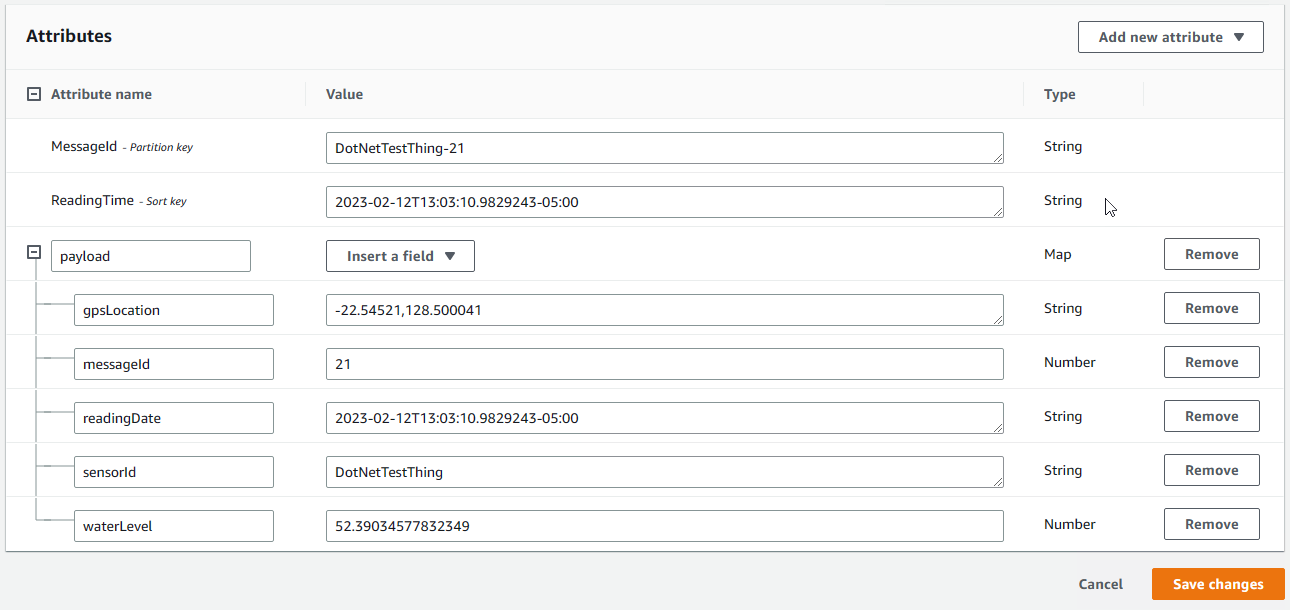
You can click on a message and get a view of the data for the message.
Conclusion
In this blog post, we were able to expand on our sample .NET IoT application and build a basic back end using the IoT Roles Engine, and DynamoDB. Using the IoT core service allows us to build an integration with DynamoDB without having to write any code.